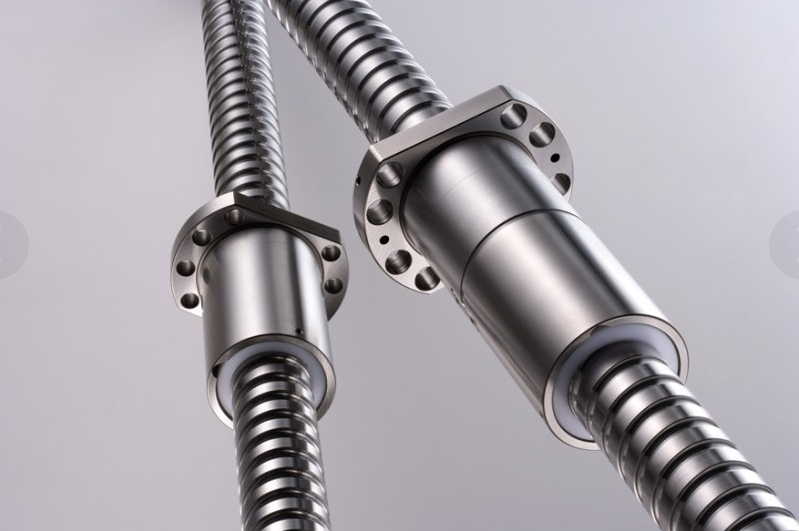
Measurement Of Lead Screw Accuracy:
With lead screw accuracy as the main precision of the machine tool, before the overhaul of the machine tool, it is necessary to check the precision of the lead screw to determine the repair measures of the lead screw, or repair, or replace. The inspection of the lead screw is divided into two methods: comprehensive inspection and lead screw accuracy inspection. Specific measurement methods are as follows:
- Lead screw manufactured in accordance with the normal process (cold rolled ball screw and grinding ball screw). The final threading is done by a thread lathe or thread grinder. After completion, the inspection unit shall check the accuracy on the lead screw inspection instrument and issue a report as the basis for repair.
- Arrange the standard line ruler on the machine tool. Reading microscope, the lead screw rotates one pitch or several pitch, check the precision of the lead screw movement, for the machine repair fitter, this measurement method is necessary to master. After repair, the motion accuracy of the lead screw and the measurement of the correction ruler need to be measured and calculated by oneself to determine the accuracy of the machine tool.
-
Remove the lead screw and clean it. First observe the wear condition of the lead screw, check the bending degree of the lead screw, measure the tooth thickness with the gear caliper, determine the wear degree of the lead screw, and determine whether the lead screw has repair value. In general, the lead screw is processed and supplied as a lead screw pair. Once the repair or replacement of the lead screw is determined, the nut is matched with the repair channel of the lead screw.
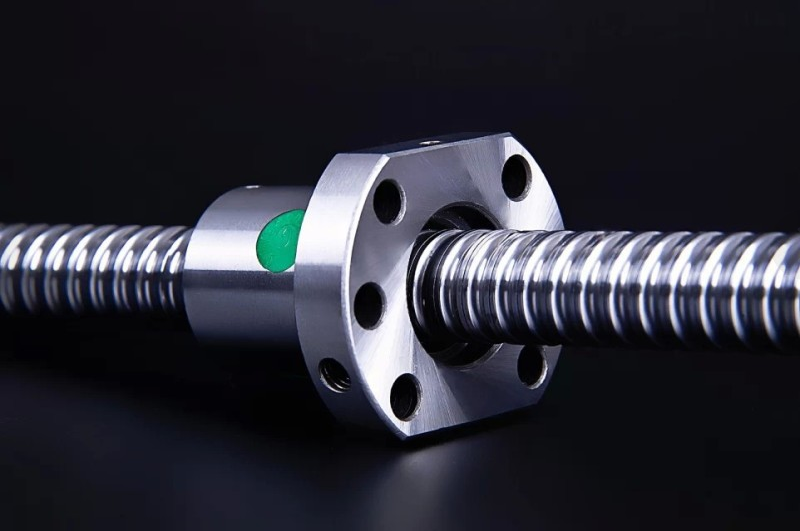
Daily Maintenance Of Lead Screw:
- Loosen the screws fixing the upper key dowel and remove the dowel. Note that there are two key dowel pins 180 degrees apart on the silk master, both of which need to be removed.
-
Rotate the separated front and rear nuts in the opposite direction, loosen them completely, and remove the two meniscus.
-
According to the no-load torque (feel) between the lead screw pairs, insert the feeler ruler and the meniscus into the two lead screw nuts at the same time, and lock the lead screw nuts in place. The sign that the lock is in place is that the key pin positioning slot is aligned. This is to turn the lead screw nut until there is some resistance to the hand, but at the same time the key pin positioning slot can be aligned, indicating that the thickness is measured well.
-
Loosen the two nuts, measure the total thickness of the meniscus and the inserted gauge, draw a picture to make the meniscus again, and try the installation.
-
If the thickness is appropriate, the lead screw and the lead screw nut fit well, install the two key pins on the lead screw nut, tighten the key pin fixing screws.
The daily inspection of seal and lubrication of ball screw nut pair is the problem that we should pay attention to in operation and use. For the seal of the screw nut, it is necessary to check the sealing ring and protective sleeve to prevent dust and impurities from entering the ball screw nut pair. For the lubrication of lead screw nuts, if grease lubrication is used, grease should be injected regularly according to the machine tool factory instructions (different types of lead screws use different grease, and the injection cycle is different). If you use thin oil lubrication, you should regularly check whether the oil filling hole is smooth. Generally, you can observe the oil film above the lead screw during maintenance. It is important to note that, when using thin oil lubrication, the general guide rail and lead screw is the same centralized lubrication system, the oil path from the centralized lubrication pump quantitative output, through the distributor to each shaft of the guide rail and lead screw lubrication point.
